Informieren Sie sich über ausgewählte Unternehmen im Anbieterverzeichnis von SELFPHP
:: SELFPHP Forum ::
Fragen rund um die Themen PHP?
In über
130.000 Beiträgen finden Sie sicher die passende
Antwort!
:: Newsletter ::
Abonnieren Sie hier den kostenlosen
SELFPHP Newsletter!
Creating the Game Interface Using Expression Blend 3
What you’ll learn in this module:
Tips and tricks for smooth integration of assets
Organizing and naming layers
How to address know issues
Naming conventions
Grouping and naming items
Importing XAML
Venture into Gaming Using Expression Blend: Module 2
Creating the Game Interface Using Expression Blend 3
In this module, you find out how to create assets for your game interface directly in Expression Blend. You will start off with a simple tutorial that will review the tools and workspace.
Selection Primer: Making Selections in Expression Blend
Before you get started making your own project, it is a good idea to spend a few minutes investigating methods of selecting objects in Expression Blend. To do this, you will use a sample file that has already been created to help you activate objects and re-organize their stacking order.
Making the correct selection in Expression Blend is important, especially when you are changing properties. In the next part of the module, you find tips and tricks to help you make changes to the right objects.
Launch Expression Blend 3. If the Startup dialog box appears, you can choose Open Project, or you can select File > Open Project/Solution.
Navigate to the module02_assets folder, then double-click to open the Selections project folder and click the Selections project file. Press Open. If you do not see the objects in the design view double-click on the MainPage.xaml file in the Project panel.
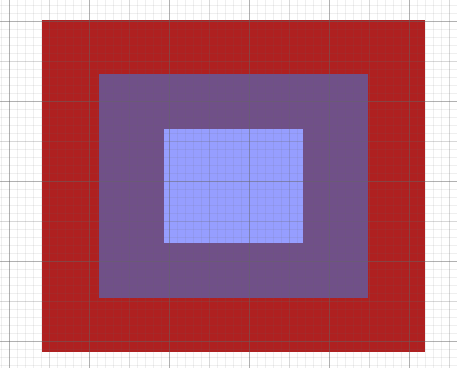
The selection exercise file.
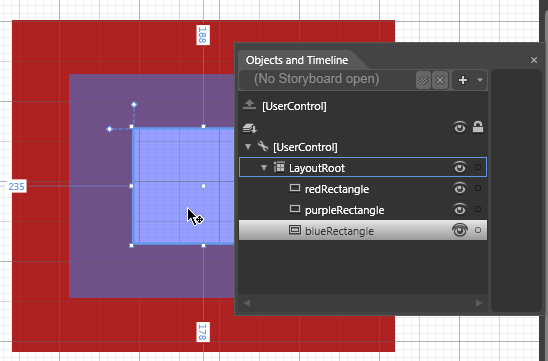
If you do not see the Objects and Timeline panel, choose Window > Objects and Timeline. Notice that for every object on the artboard there is a related named object in the Objects and Timeline panel.
Click the Selection tool, then click the shapes on the artboard, one at a time. Notice that as you select each object, the selection is also indicated in the Objects and Timeline panel.
Now select the named objects in the Objects and Timeline panel to see the selection of an object right on the artboard.
You can select items on the artboard using the Selection tool, or by clicking
on them in the Objects and Timeline panel.
Position your mouse over the red on the redRectangle on the artboard and right-click. Choose Set Current Selection. The redRectangle is the only item selected on the artboard.
You are finished with this project file. Choose File > Close All Documents.